
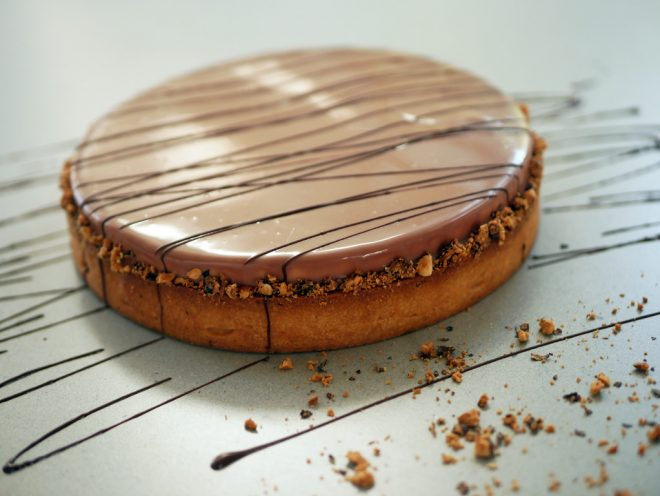
Apple & Honey Tart
This is one of my favorite tarts that I leaned to make at baking school. They did not give us the pleasure of baking it on our own during class, so I started baking it annually at this time of year. However, I replaced the layer of jam with honey, to better fit the holiday tradition. Although I do eat apples in honey all year long. Apples in salt too, that’s delicious. What can I say, I’m an apple boy. (Although I hate anything made by Apple.)
Despite my love for apples, for my mid-term exam I had to bake an almond and pear tart. Like the apples in this recipe, we had to cook the pears until they softened. This is where I messed up. I did not cook them enough. The pears did pass the “stabbing with a knife” test. But I did not taste test them, which could have been a good indicator that the pears were not soft enough yet. From then on, I’ve learned that I always need to taste whatever fruit I cook before combining it in a dessert. Baking won’t soften it more. Cooking will.
…
This tart is actually an elegant apple crumble. I always wondered why they call apple crumble. Is it because of the crumble on top of the apples or is it because it crumbles as soon as you cut a piece of it? But that doesn’t bother me too much, I somehow manage to put all the crumbly piece in my mouth and enjoy a perfect bite. The tart gets less crumbly the longer you let it sit or after cooling it in the fridge. So please do not rush and cut it as soon as it’s out of the oven, as tempting as it may be. (I must admit, I can never hold myself back.)


Ingredients
Crust
175 g flour
20 g almond powder
65 g powdered sugar
2 g salt (½ tsp)
1 tsp vanilla paste
100 g cold butter (cut into cubes)
40 g eggs
Apple filling
30 g butter
700 g Granny Smith apples (about 4 apples)
30 g sugar
1 tsp vanilla paste
Crumble
50 g cold butter (cut into cubes)
50 g dark brown sugar
55 g almond powder
50 g flour
Honey filling
80 g honey
Equipment
A round ring, 18 cm diameter and 2.5 cm height
Crust
Put flour, almond powder, powdered sugar, salt and butter cubes in the mixer bowl and keep in the fridge for about 10 minutes. Remove from fridge. Using the paddle attachment, start mixing at low-medium speed until the batter reaches sand-like consistency. Make sure the butter chunks are as small as possible at the end of the process without melting the butter.
Add vanilla and eggs all at once and keep mixing at medium speed until the dough starts to form but is not yet completely uniform. Remove dough parts from the bowl and combine. Cover dough with plastic wrap. Roll out the dough a little bit. Keep in the fridge for at least an hour. (It’s always better to prepare the dough in advance, the dough keeps for up to a week in the fridge and for about two-three months in the freezer.)
When the dough is stiff and cold, remove the plastic wrap. In a cool room, flour the work surface, place the dough on top and dust it with flour as well. Roll out the dough with a rolling pin. Keep turning the dough throughout and make sure it doesn’t stick to the surface. Roll out the dough to a 3-4 mm thickness.
Please note (!) If at any point the dough starts to soften, put it back in the fridge until it is stiff again.
Fonçage:
Spread some butter on your finger and butter the inner side of the baking ring so that the dough sticks to it. Place the ring gently on top of the dough and cut a larger circle around the ring. Place the ring on a parchment paper and place the dough gently on top of it. Lift the edges of the dough, gently push the rest of the dough down and attach the edges to the sides of the ring, starting from the bottom of the ring to the top.
Gently press down on the sides so that the corners at the bottom form a right angle. (It’s not the end of the world if the dough gets torn accidentally. Just attach the sides that have been torn apart and move on). Go over the top of the ring with a sharp knife and remove the excess dough. Put the crust in the freezer.
Crumble
Put all the ingredients in the mixer bowl and keep in the fridge for about 10 minutes. Remove from fridge. Using the paddle attachment, start mixing at low-medium speed until chunky crumbs start to form (a bit before the dough forms). The goal here is to mix in the butter before it becomes doughy. Keep in the fridge.
Apple filling
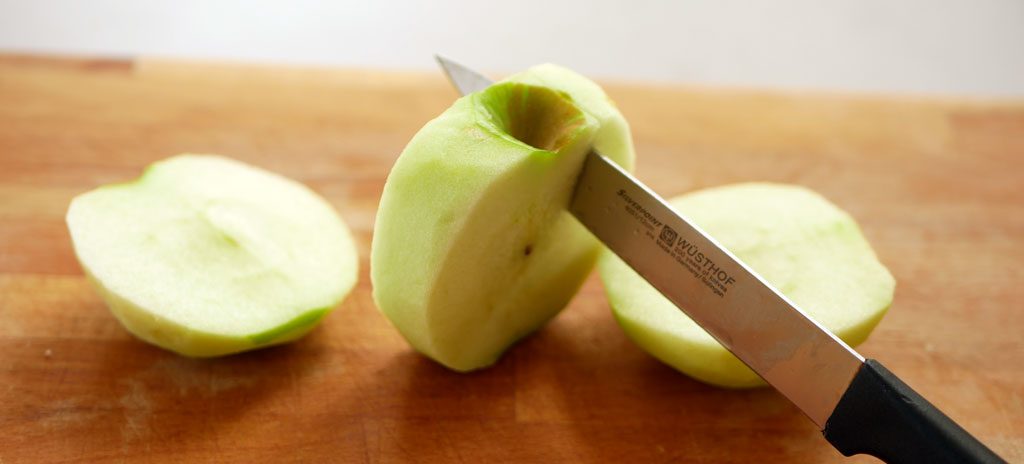
Use a peeler to peel the apples. Cut the apples into medium sized cubes, about 1 cm wide, and get rid of the apple core. Weigh 500 g apple cubes. It’s important to work quickly at this point to avoid the apples from browning.
Place the butter in a cooking pot and heat until the butter is completely melted. Add sugar, vanilla and apples. Cook on medium heat, while stirring all along, until the apples softens slightly, about 10 minutes (well, according to your taste. Taste an apple cube and check if the consistency is to your liking).
Transfer the apples to a parchment paper and cool at room temperature.
Putting it all together!
Preheat the oven to 170 °C (340 °F).
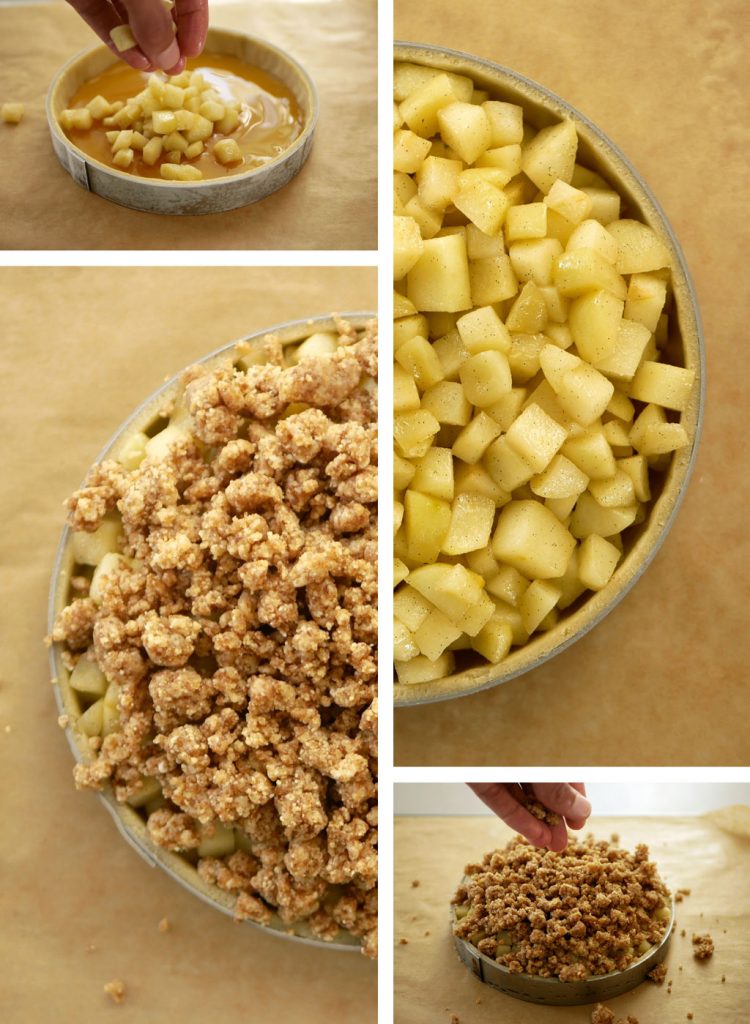
Remove the crust from the freezer. Spread honey over the bottom of the crust. Flatten it with a small spreading spatula. Scatter the apple cubes loosely over the honey, don’t squash them.
Take out the crumble from the fridge. Make sure the crumbs are not too chunky. Spread the crumble over the apples. It will look a bit tall, and that’s ok, it will slightly sink during baking.
Place in the oven and bake for about 35 minutes until the edge of the crust starts to brown. Remove from the oven and cool at room temperature. Release the ring gently from the tart. Keep in the fridge for two to three days in an airtight container. Just before serving, drizzle a bit of honey over each slice.


